Contents
Over time, the hard drive, especially the system drive (C), fills up with temporary files, old system files, and unnecessary programs, leading to system slowdowns or even halting updates. In this article, we will detail the safest ways to free up space on drive C in Windows 10, 11, and 7 while addressing the issue of a full C drive without harming the system, along with explaining the functionality and potential results of each method.
Here are the most important methods to free up space on drive C in Windows:
Cleaning the Temp Folder in Windows
The “Temp” folder is one of the most common places where unnecessary files accumulate. These files are temporarily created when installing programs, browsing the internet, or using various applications. To clean it, follow these steps:
- Open the “Start” menu and type “Run” in the search box, then press “Enter”.

- In the window that appears, type the command:
C:\Windows\Temp- Or you can just type
tempand then press the “Enter” key.

- A large list of temporary files will appear. You can select them all and delete them. You may be asked for administrative permissions, so agree to that.
It is important to know that deleting these files does not affect the system at all; it helps remove remnants of old programs and can free up hundreds of megabytes at times.
Cleaning the %temp% Folder in User Account
Another folder similar to the public Temp folder, but it is specific to the current user account. To clean it, open the “Run” window (you can open it by pressing the Windows key and the letter R) and type:
%temp%
Then press “Ok”. A folder containing temporary files related to your specific programs, such as internet browsers or media applications, will open.

You can delete all the existing files without worry, as the system will recreate what it needs later when necessary. After deletion, it is recommended to restart the computer to apply the changes. You will often notice a significant difference in the speed of program launches.
The Prefetch Folder and Why It Is Not Recommended to Delete It Entirely
The Prefetch folder is part of the boot acceleration mechanism in Windows. The system creates files in this folder to store information about the programs you frequently use, so they load faster on the next startup.
You can access the folder by typing the following command in the “Run” window:
prefetchHowever, unlike the previous folders, it is not advisable to delete its contents entirely. The space you will save is minimal, while deleting these files may lead to a slowdown in system boot and program launches initially. If you wish, you can manually delete some old files only, but not the entire folder. It is best to leave this folder as is.
Using the Disk Cleanup Tool
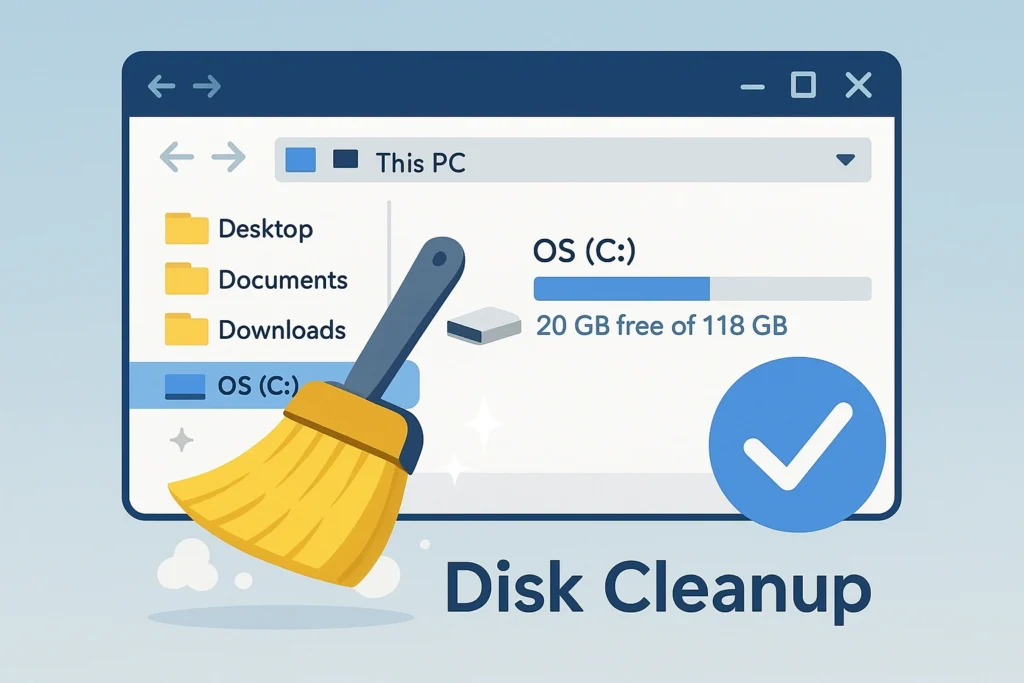
The built-in “Disk Cleanup” tool in Windows is one of the safest and most effective means to free up space. You do not need external programs, and it can be easily run. To clean drive C using the disk cleanup tool, follow these steps:
- Open the “Start” menu and search for “Disk Cleanup” or type “cleanmgr” in the “Run” window.
- After opening it, select drive C and click “OK“. The tool will analyze the files that can be safely deleted, such as “Temporary Internet Files”, “Old System Files”, and “Recycle Bin”.

- After the scan is finished, check the boxes beside the items you want to delete and click “OK” then “Delete Files“.

- You can also click on “Clean up system files” to remove old Windows update files that are no longer necessary. This step can free up a significant amount of space, reaching several gigabytes, especially after major updates to Windows 10 or 11.
Deleting Old Restore Points
The Windows system automatically creates “restore points” to secure a return to a previous state of the system when issues occur. Over time, these points accumulate and consume a large amount of space on drive C. To free up space by deleting restore points, follow these instructions:
- Open the “Control Panel” by clicking on the Start menu and typing Control, then clicking on the Control Panel program icon.
- In Windows 7, go to “System and Security” then “System”. From the sidebar, select “System Protection”.
- In Windows 10 and 11: From the Control Panel, select Recovery then Configure System Restore.

- In the window that appears, select drive C and click “Configure“.

- Then click on “Delete” to remove all old restore points. You can also reduce the allocated space for them using the slider.

This step is safe as long as your device is currently functioning normally, but it is advisable to keep only one recent restore point as a precaution.
Cleaning the Downloads Folder, Pictures, and Screenshots
Many users forget that the “Downloads” folder may contain large files such as old installers or video and compressed image files.
Manually open the folder from “File Explorer” (open “This PC” and then in the sidebar, click on Downloads). Then sort the files by size to identify large files.

Delete what you no longer need, or move important files to another drive (like D or an external drive).
If you are sure that you do not need anything in this folder, press CTRL + DELETE to select all files, then press DEL or delete on the keyboard to delete them all.
It is best to perform this step regularly, as the Downloads folder is often the main reason for filling up drive C for regular users.
After finishing, you can check the folders:
- Pictures
- Screenshots
- Music
- Videos
And delete what you do not want from them.
See: Partitioning the hard drive without formatting
Uninstalling Unnecessary Programs
Installed programs on the system are one of the biggest factors that consume space, especially games, editing tools, or applications that you no longer use.
- To remove them in Windows 7, open “Settings” from the Start menu, then go to “Apps” > “Apps and Features”.
- And in Windows 10 and 11, open “Settings” from the Start menu.

- Then go to “Apps” > “Installed Apps“.

- Review the list and uninstall programs that you no longer need.
You can also use the old “Programs and Features” tool from the Control Panel if you prefer the classic interface.
After finishing, restart the device to actually free up space because some loaded program files might need to reboot the device to be deleted.
Enabling Archiving of Unused Applications
This option is enabled by default in Windows 11, but assuming it has been disabled for any reason, you can ensure that this option is enabled.
Enabling the archiving of unused applications is an option that allows Windows to compress programs that you do not use frequently. Archiving saves space on the hard drive and you will not lose any information or data associated with those apps due to this archiving.
- To enable archiving of unused apps, go to Windows Settings then Apps from the sidebar.
- Select Advanced app settings. Then enable the Archive apps option.

Emptying the Recycle Bin
Finally, after all the previous steps, you may need to empty the Recycle Bin because files eventually go to the Recycle Bin when you press the Delete key to delete them. Thus, space is not actually freed until those files are permanently deleted from the Recycle Bin.
You can delete any file permanently and not send it to the Recycle Bin by pressing Shift + Delete. But be absolutely sure that you do not need that file because deleting using Shift + Del leads to the file being permanently removed from the hard drive. You may not be able to recover it using file recovery programs.
Additional Tips to Maintain Space in the Future
After implementing these steps, you will notice that the system has become faster and the available space has increased. But to maintain this result, it is advisable to enable the built-in “Storage Sense” tool in Windows 10 and 11, which automatically deletes temporary files and old recycle bin files periodically.
You can also save large video and image files on another drive or a cloud service like OneDrive or Google Drive to reduce pressure on drive C.
All the mentioned methods are safe if applied carefully, ensuring your system remains stable and fast in operation.