Contents
Memory Integrity — also technically known as Hypervisor-Protected Code Integrity (HVCI) — is an advanced security feature embedded in the Windows operating system, acting as a personal guard for the system kernel.
What is Memory Integrity in Windows and its history?
Imagine Windows running programs and drivers inside isolated rooms; the Memory Integrity feature uses virtualization techniques to create a “completely safe and fortified room.” The job of this room is to inspect and audit any code or driver before allowing it to operate in the system. If a virus or malware attempts to inject harmful code into the sensitive system memory, this feature immediately prevents it, protecting your computer from deep breaches that traditional antivirus software might fail to handle.
When did it appear in Windows?
- Limited first appearance: This feature first appeared with the launch of Windows 10 (specifically in major updates like Enterprise edition as part of the security package Device Guard).
- Availability for regular users: The feature became available to all users of stable versions of Windows 10 (such as Pro and Home) within the “Device Security” interface with the April 2018 Update (Version 1803).
- Default activation: With the launch of Windows 11, Microsoft made this feature automatically enabled by default on all compatible modern devices, due to the system’s complete reliance on strict security conditions such as modern generation processors and TPM 2.0 chips.
Is it necessary to enable Memory Integrity?
The Memory Integrity feature is not absolutely necessary for the device’s operation, but it is highly essential if you seek maximum security and resistance to advanced viruses.
Here are the details for you to decide whether you need it or not:
When is it “unnecessary” and you can ignore it?
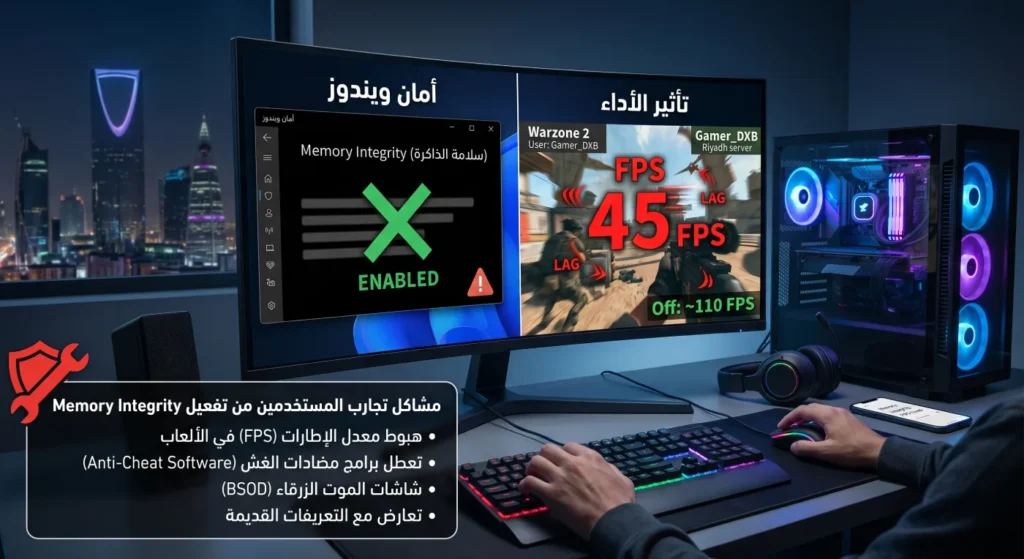
- If you are a gamer seeking the highest FPS: The Memory Integrity feature continuously inspects codes in the background through an isolated virtual environment. This continuous inspection may consume a small portion of the CPU power, and in some heavy games, it may cause a slight drop in frame rates (FPS). Therefore, many gamers prefer to keep it disabled.
- If your device is old or has limited specifications: Enabling it may impose an additional burden on older processors, leading to noticeable slowness in overall system performance.
When is it “necessary” and highly recommended to enable?
- To protect your device from advanced malware: This feature is the first line of defense against denial-of-service attacks and kernel-level exploits. It prevents attackers from planting malicious code within sensitive and highly secure parts of Windows memory.
- If you use the device for work or financial transactions: If the computer contains sensitive data, bank accounts, or important work files, enabling it provides an additional layer of security that is hard to breach even if your device encounters a traditional virus.
Summary:
If your device is dedicated to heavy gaming and you want to extract every ounce of performance from the processor, there is no need to worry about its absence. However, if the device is for general use, browsing, work, and you care about maximum protection, it is advisable to enable it by following the above steps.
Should you disable Memory Integrity to speed up gaming?
Although the Memory Integrity feature provides a robust layer of protection for the system kernel, real-world user experiences have revealed several issues and challenges they faced after enabling it.
Here is a detailed overview of the most prominent of these issues:
User issues and complaints after enabling Memory Integrity:
- Decrease in gaming performance: A significant portion of the gaming community complained of a noticeable drop in frame rates (FPS) and sudden stuttering during gameplay after enabling the feature. This is due to the continuous inspection of codes in the background consuming part of the CPU’s power, creating a bottleneck that affects the smoothness of heavy and competitive games.
- Crashes of programs and games using anti-cheat software: Many users faced issues running popular games (like Valorant or highly secured ones), where kernel-level anti-cheat systems failed to boot, showing error messages indicating system incompatibility, because the Memory Integrity feature prevents these programs from accessing some sensitive memory parts.
- Blue Screen of Death (BSOD) and stopping old drivers: When enabling the feature, Windows immediately blocks any old or unsigned drivers. This caused sudden failures for some external components (like old sound cards, printers, or controllers) leading the system into a loop of restarts and showing the BSOD due to driver file conflicts.
- Conflict with emulators and virtual systems: Developers and users of emulators (like VMware or VirtualBox or Android emulators) encountered performance issues or complete failures in running virtual machines because the Memory Integrity feature monopolizes the processor’s virtualization technology, preventing other programs from utilizing it efficiently.
How to ensure Memory Integrity is enabled
You can check if the Memory Integrity feature is enabled on your device by following these steps:
- Open Settings, then go to Privacy & Security, and choose Windows Security.
- Now select Device Security.
- If you do not find the Memory Integrity feature, it does not necessarily mean it is not enabled. Click on Core Isolation Details and then enable it.

How to enable Memory Integrity in Windows
Sometimes you don’t find the Memory Integrity feature. Here you need to check the following steps:
1. Ensure CPU virtualization is enabled in BIOS
The “Memory Integrity” feature relies entirely on the processor virtualization technology. If this technology is disabled on the motherboard, the option will not appear in Windows at all.
- How to check? Open Task Manager by pressing
Ctrl + Shift + Esc, then go to the Performance tab and click on CPU. Look for the Virtualization option at the bottom. - Solution: If you find it (Disabled), you need to restart your computer, enter the BIOS, and enable it according to your processor type:
- For Intel devices: Look for the Intel Virtualization Technology or VT-x option and make it Enabled.
- For AMD devices: Look for the SVM Mode or Secure Virtual Machine option and make it Enabled.
2. Issue with incompatible drivers
Often, Windows completely hides the option if there is an old or incompatible driver on your device that prevents this feature from operating safely.
- Solution:
- Open Windows Search and type Core Isolation.
- If you enter and find the Memory Integrity option is greyed out, or it shows an error message, click on the phrase Review incompatible drivers.
- The name of the driver causing the problem will appear (it is often an old external driver or outdated security software). You must update this driver or remove it completely for the option to reappear.
3. Force-enable the feature via the Registry Editor
If virtualization is enabled and there are no faulty drivers but the option is still hidden from the interface, you can force Windows to display and enable it via the registry:
- Press the
Windows + Rkeys on your keyboard, typeregeditand then press Enter. - Navigate to the following path by pasting it into the top bar:
HKEY_LOCAL_MACHINE\SYSTEM\CurrentControlSet\Control\DeviceGuard\Scenarios\HypervisorEnforcedCodeIntegrity - In the right pane, look for a file named Enabled.
- Double click on it and change the value data from
0to1. - Click OK and then restart your device.
4. Update Windows system
Sometimes there is a software bug in the current version of Windows that prevents some security options from appearing, and updating the system via Windows Update to the latest security package automatically resolves the issue and restores the menu’s visibility.